Showing posts with label led. Show all posts

Friday, May 8, 2020

Reverse Engineering an IKEA LEDARE GX53 dimmable LED


Reverse engineering is fun, first because you tear things down, second because your break it apart, and last but not least, because you explore others designs and ideas.


In today's post, I am writing about how I reverse engineered a dimmable LED light from IKEA which stopped working and was shouting out TEAR ME DOWN.


But before I start, here is a disclaimer, after the usual "dont do this at home", I love IKEA products and admit they are just Brilliant!

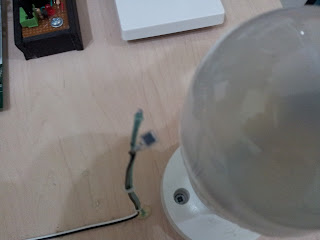
Here is the product


The top lid can be rotated about 10 degrees, which allows for adjusting the light diffusion pattern. You can start counting, Brilliance 1...

Ok, so, the first step was to open up the casing, this is done by prying the lid with a flat screw driver


Then removing three screws and pulling the LEDs PCB out.


Brilliance 2, the pass through connector is just smart, no wires mess up, and easy (and cheaper) assembly.


Now pulling the PCB


Ok, Brilliance 3, just how smart are those long connectors to the GX53 terminals, without soldering!!!

Here is the complete assembly breakdown


Anyway, time to for the real thing, lets look at the PCB and read it out


And the result after tracing all the traces


Awesome, we can already see the sections with just an initial rough sketch. Let us label it


Quite great result, only a single IC I could not identify, but I could guess it is a current driver.

Fantastic!

Have a good day everyone


Friday, November 11, 2011

NetHome

I am extremely happy today, I am almost done with Light Control through Ethernet. I can't believe it was soooo easy!
I started this project about a week ago, not a new idea or any thing, it is for my own educational purpose

NetHome

I started with a rough sketch of the idea (pictures are hi res so it will take time to load)


After getting the required components I started implementing directly


5v power is supplied from USB, 3.3v regulator is used for the webserver WIZ200Web from Sparkfun

Relay PCB, to control the 220 VAC


Powering up!


Yay its working, now feedback sensor, Miniature Solar Cell


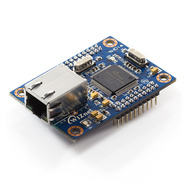
WIZ200Web - web server (from sparkfun)

Using this guy was awesome, only need to connect two 3.3v pins, four GND pins, Rx0, Tx0. Then from PC use configuration tool to connect/configure and download firmare/webpages.


Below, I was testing in external ATmega168 before using the server (which has ATmega128 with pins you can use for I/O ADC etc)


Ethernet link - blinking!


webpage:


I've connected my relay driver to PB4 pin (on J2) which is LED0 on the WIZ200web development board, so I was able to control the light.


After that I decided to make two interfaces, one from PC "PC Station" and an "Android Station" and maybe also "iPhone Station"

I started with the simplest, "PC Station" for which I used Visual Basic:


The PC Station is working fine, however, there is small problems with changing the IP Address, if the connection is successful and I tried to change the ip address, it would still say "connected"
Also, I've not implemented Syncing data yet

Since It is working, I thought I'd move to the next step, Android!

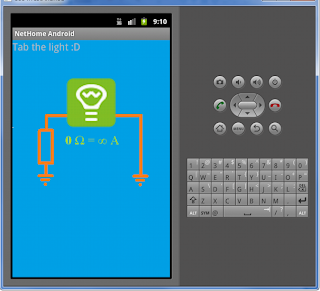
The UI on Virtual Manager


I am able so far to toggle the picture ON/OFF, however, I am still looking for how to control the light :D


.